Sunday, January 20, 2013

Black bean dye: the dye you can eat


As promised, an entry on dying with black beans. I apologize to my handful of readers- I’m living in the cabin in the woods in down east Maine (yes, sounds romantic as well as a great setting for a horror) with no internet connections. Here is one of my attempts to catch up as I sit in the grocery store, in the big city of Ellsworth, stealing internet from the cafe next door. To give you a sense, here is a pic of our trusty wood stove!


So black beans. I had a lot of fun with these dye baths, especially since I got to eat the beans that were soaking in the form of a delicious chili. 
First, reluctantly, I mordanted my wool. This is an important step I often try to deny, but important nonetheless. Yes you should do it. The Craft of the Dyer: Colour from Plants and Lichens of the Northeast by Karen Leigh Casselman describes mordants:
“There is more confusion regarding the use of mordants than with any other aspect of plant dyeing. Mordants are simply metallic or mineral salts which, when added to the dyebath, enhance, intensify, or change the colour of the dyebath and mkae the resulting shade more fast to light and washing.” 
So it is a good thing. I mordanted my wool in 5 gallons of water which I boiled for 30 mins with about 1 gram of cream of tarter (found in most kitchens) and 1 gram of alum (an ingredient in baking sodas and other house hold items). Here are more detailed directions:


The wool in the mordant pot:


Meanwhile, I soaked a big bowl of black beans with water (enough to cover the future wool) for two days, stirring whenever I walked by it in the kitchen. By the second day the water was a deep purple. 


Then, in a dying pot strictly used for dying experiments (not cooking), I added the mordanted wool, still wet, and the black bean soaking water. No heat necessary. I let this sit for another 2 days and then rinsed the wool in cold water (don’t use hot, it will cause unintended felting) until the water ran clear. I dryed it in the greenhouse on a few sunny winter days. Though the tips of the wool were the bluest (some even bright shades of tourquoise!) once carded the overall effect was beautiful shades of light blue.


I had did two dye baths, one whose batch of wool had been previously dyed with an unsatisfactory tan. Here is the difference in color. The one on the left is the over dyed wool, a blue/ green/ gray and on the right is the light blue wool. Both dyed with the black bean.


TaDa!  

If you are interested in trying out different plant dyes, it is a deep rabbit hole of exciting experiments. Right now I am collecting a bunch of onion skins... a foolproof dye bath. Check out this book for a great overview of natural plant dying as well as thorough lists and instructions for many of the plants around you:




Spinning cotton= splitting hairs.


Spinning is an enjoyable experience. Imagine relaxing next to the wood stove listening to the music of Joni Mitchell or Patti Smith or classical piano music suitable for the falling snow outside. Imagine treddling your foot in even time and the clicking of well oiled wood. Imagine freshly carded wool, so soft, flowing out of your finger tips as you spin and release it onto the bobbin, even and just the right thickness. Cotton is not that experience. In fact, spinning cotton is pure evil. It feels soft and you dream of making fast drying accessories out of the hand spun plant such as dish rags, but no. It breaks apart and forms lumps in not a cool aesthetic kinda way. I gave up. Cotton is much more suited for the wreath maker while still attached to the plant (very pretty! check out here with Martha Stewart: http://www.marthastewart.com/929249/how-assemble-cotton-wreath )or *GASP* a machine that doesn’t have emotions to jiggle with frustration and throw the bag that Louet graciously sends you for free against the wall. Throwing fiber isn’t too satisfying either. 
Pictures of the fiber and what came of the clump- a cotton ball! Ha. There is more where it came from, unfortunately.


Thursday, January 10, 2013

Wool for sale!

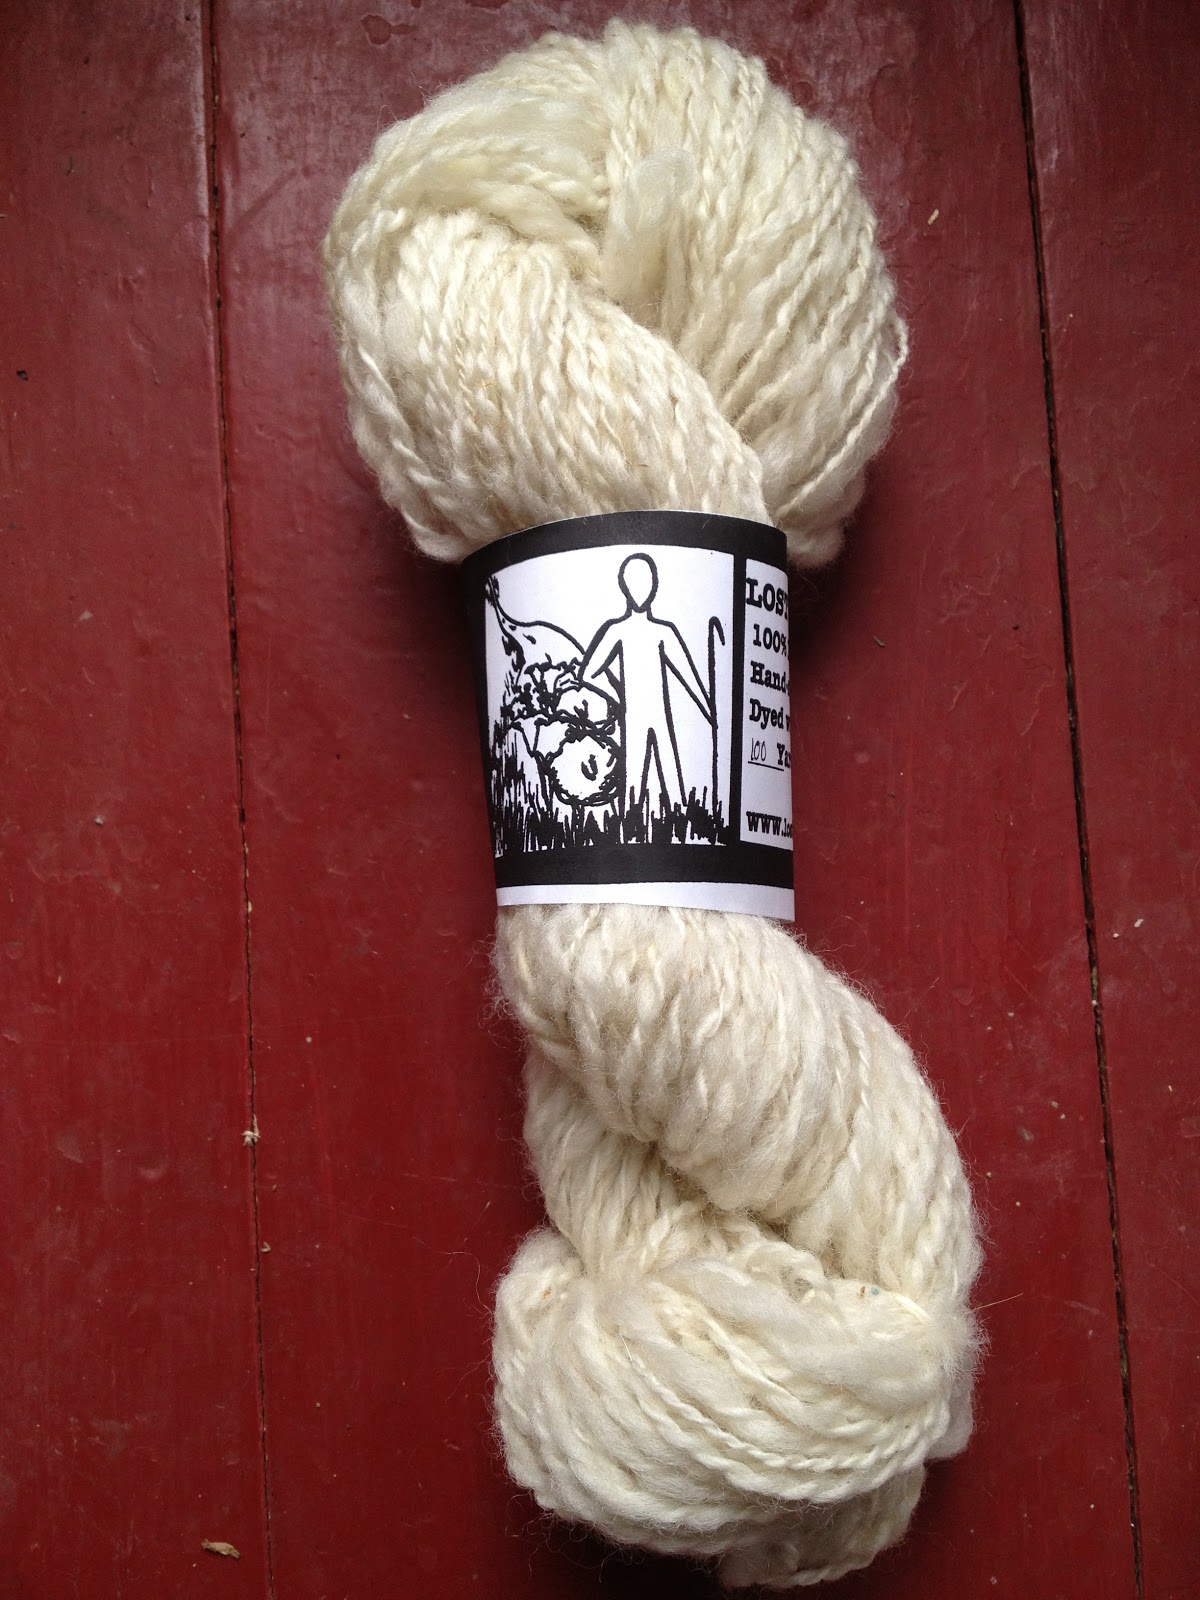
So I have just finished a whole bunch of skeins, in 4 different colors, and am ready to get them off my hands. See below for pictures! Each skein is 100 yards, around 2.5 oz., and $20 or $25. Please email lostsheepspinnery@gmail.com if you are interested in purchasing.


(Left to right: natural white, natural dark, black bean, coffee)


COFFEE DYED: a caramel tan color


BLACK BEAN DYED: a gray blue


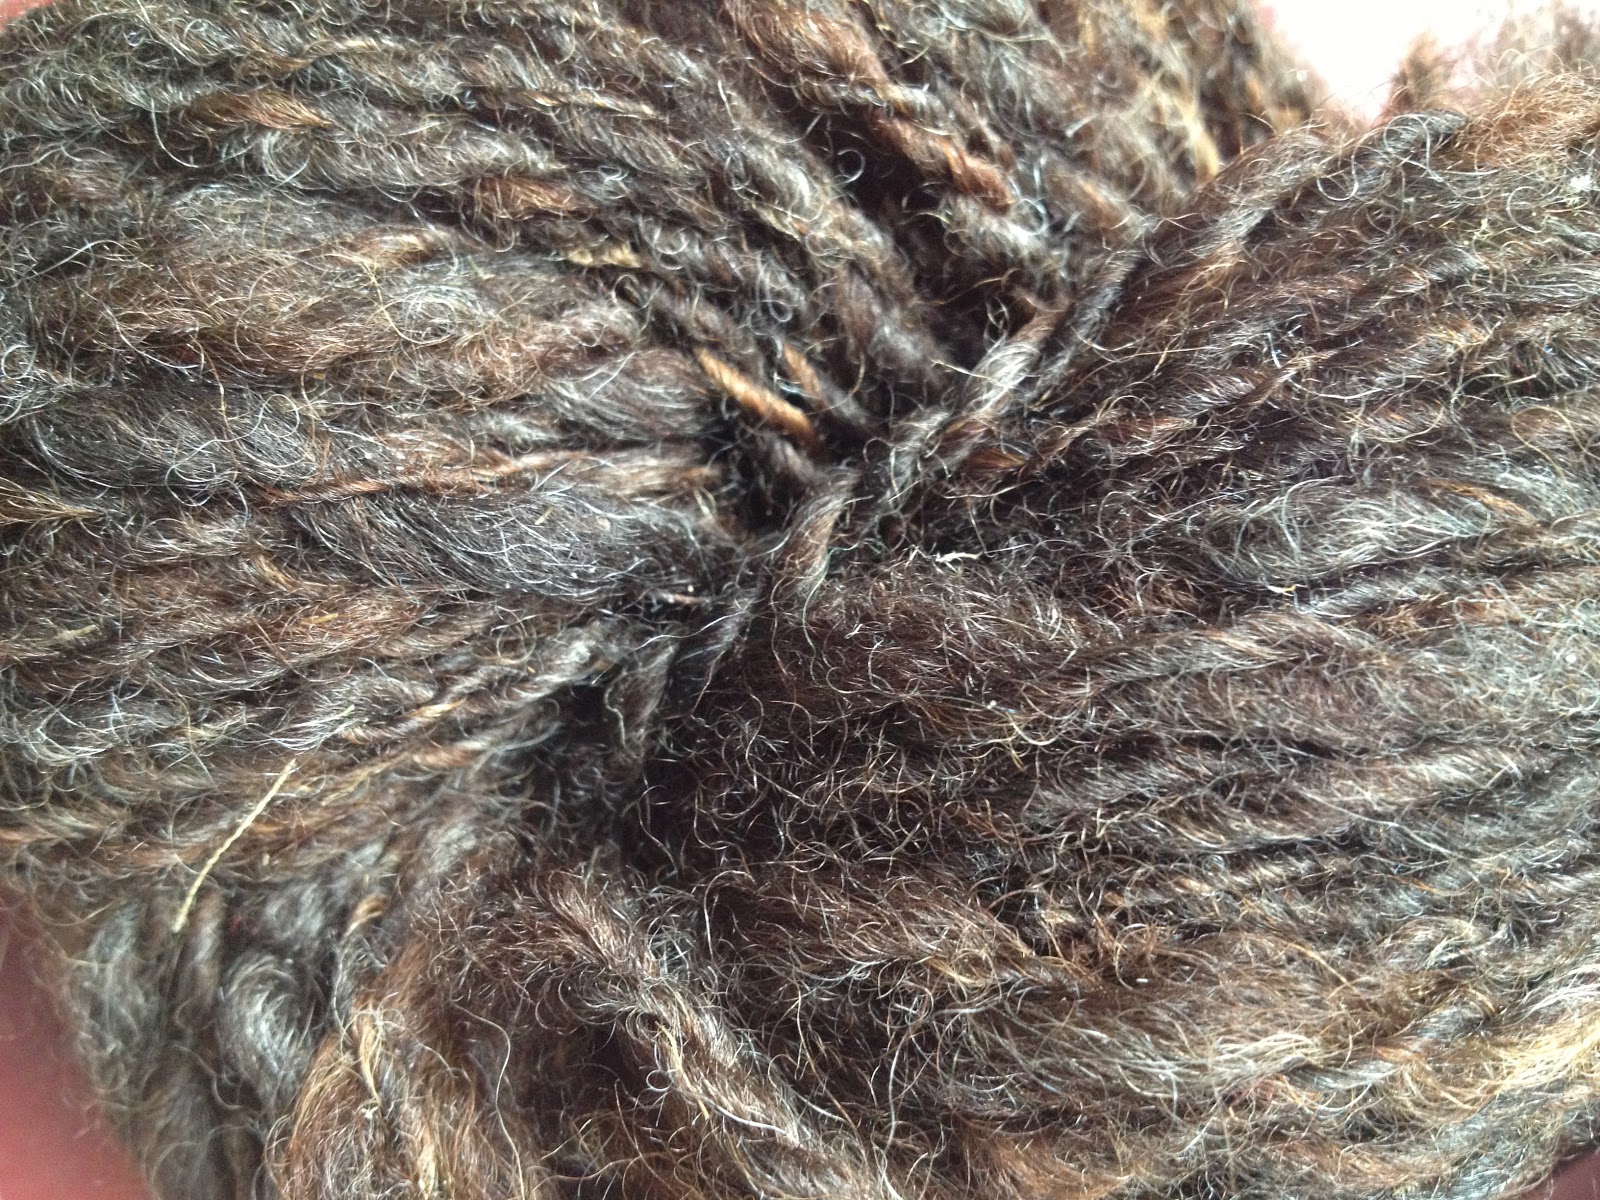
NATURAL COLOR, dark: shades of brown, gray, black, and orange


NATURAL COLOR: white


Friday, January 4, 2013

Experiments in dying (wool)

There is something mysterious about dying. Hovering over a dye pot, which is similar to just a giant vat of tea, with washed but uncarded wool that looks like brains, I can't help but feel I should also be adding eye of newt to the pot. But once washed and dried and carded, I get to pull off bats of varying shades, ready to spin the colors into skeins. It is weird to think of blue or yellow or pink sheep but I hate to forget where the fiber comes from.
I am currently processing 2 sheep fleeces- one white and one "black" whose fleece moves through shades of gray, black, brown, and orange tips. The white fleece is subject to many dying experiments as I try and get my hands around the mordants, stains and dyes of dying with plant chemicals found in nature. Here is my go at indigo, turmeric, beet, and coffee.

INDIGO- I grew indigo in my herb garden this year in hopes for the vibrant blue I often see as a result to the long dying process with the plant. The plant looks like a mini japanese knotweed and is in the buckwheat family... seemingly an ordinary green plant (with no visible hints of blue). To get the dye takes about 5 hours of heating, cooling, oxidizing, deoxidizing (with something called thorax which always reminds me of the Lorax in the Dr. Seuss book), and hoping that the yellow solution transforms into blue when the wool is brought out to dry in the sun. It kinda worked! I got a pale blue which is better than 
nothing... 


TUMERIC- So sometimes I cave when I see something in the kitchen and realize it would probably create a great wool color, despite it not being local (I truly am a sinner. Oh and I eat peanut butter and chocolate as well.) Tumeric was one of these realizations. It holds a brilliant yellow/ orange color. 


I also drink... COFFEE- Here I created a dye bath with spent coffee beans and day old coffee. It turned out a great tan/ brown, about the same color as my carharts! Here is it spun and in skein formation.


BEETS- It is disappointing the color that comes from beets. Everyone asks enthusiastically about it expecting it to be an eye popping pink enough to match a Lisa Frank illustration but alas it all rinses out leaving the wool stained with a pale pink/ brown/ salmon color. Pretty, but not what I was expecting. Which turns out is kinda what is happening with the dye experiments. So cool! But so wrong... in comparison to this perfect example I found online... So its kinda like being Ron in Harry Potter instead of Hermione and I am A-Ok with that. Cuz at least somethingggg magical happens.  Here is the beet wool spun up:


This is just an introduction to my experiments in dying... my next entry I will go more in to detail with the BLACK BEAN dye- that is what I am working on now. It currently looks like brains on a drying rack tinted blue. 

Saturday, December 29, 2012

New home for the holidays!

After spending the fall with my family down in MA working veggies and writing the farm business plan I am thankfully back in Maine. I'm writing at the library looking out onto a bay with a low afternoon sky, white lawns, frozen seaweed above the tide line, and of course seagulls. It feels good to be home. And welcomed with all the Maine frills- the first day back the Ellsworth American daily paper had three headlines involving a missing fisherman, a moose spotting, and gun sales. And the town center consists of this cabin posing as a three room library, a church, and a small school. My partner in crime and I are now farm sitting at Darthia Farm in Gouldsboro for  the weeks the farmers are gone. Once they return working in the woods with the horses will begin! Here is the farm with the newly built barn. It is a beautiful new space, a wonderful recovery from the tragic barn fire last spring.


See the sheep at the left! 
You can check out more about the farm here:
darthiafarm.com

Days are book ended with chores- feeding the sheep, cows, chickens, and work horses, as well as attempting to keep the wood stoves burning all day and keep Max (the pup) far away from the hens... we fail at the latter. The bulk of the day is spent spinning inside. Currently working on coffee dyed wool!


The living room is covered in sheep pelts


All in all it is not a bad place to spend the winter hours, days, weeks, months surrounded by such beautiful scenery and such beautiful animals. 


Friday, December 21, 2012

Selling out.

No, but really. I did. This week was a huge week at the spinnery- selling ALL spun skeins both to friends as well as to my first retail location (!!!) in my home town of Dedham, MA. I now really have to spin more. 
Here is a picture of the store where I am selling it. It is called Nest and is an awesome collective of 6 Dedham women bringing together local artists in the space for a gorgeous display of paintings, jewelry, linens, and a lot of other things. I am happy to be able to be a part of it. 


On display with artist Caroline (Alexander) Kaars Sypesteyn who does these black and white photo transfer prints. Their work can be seen here: http://www.berkshireartisanal.com/


That sheet underneath the wool is a dorky write up about my process as well as my history in farming and art.


Up close and personal on the turmeric and indigo dyed skeins!!


Exciting!!!!!
I feel so lucky to be able to sell in this space and to be honored as an artist- selling the skeins for a price that covers costs as well as helps me continue to do what I love.
I am now spinning coffee dyed and will be selling that next... and will be back in March to do a trunk show at the Dedham location! Real life. Selling out. It's cool beans.

Monday, December 17, 2012

DIY Drop spindle

Wanna learn how to spin? Get yourself some carded roving wool and then... the first tool in learning how to spin is to work on a drop spindle. This will get one familiar with the process of drafting the carded wool and working an even twist into the wool to form the yarn.


 Again with my stubbornness, when I first started spinning, I made my own. This is a design for a top whorl spindle. Here is what you need:
-a small ceiling hook (is that what they are called? Well- one of those hooks with a screw end)
-2 CD's you don't listen to anymore (I used Shania Twain and Now 1...) 
-a dowel closest to the size of the hole in the cd cut at roughly 13.576 inches (or somewhere around there)
-duct tape


Steps:
1. Torque the screw top of the hook so it curves out instead of being a flat hook
2. screw the ceiling hook into the top of the dowel


3. Place the CD's back to back and slide onto dowel, leaving about 4 inches on the shorter side
4. Secure CD's on dowel with duct tape (this could take some messing around)


5. Now nick into the CD's (you could do this before secured or now, at the end) with a knife or CD. It probs won't be pretty but this is for functionality, not beauty. Underneath the CD will be where the finished yarn goes, trailing up through the nick, around the hook, and into your drafting hands as you twirl the spindle on your thigh.


Now you are ready to use the drop spindle! It is difficult to explain in words but here is a good youtube video for it! 
http://www.youtube.com/watch?v=7gXTWgMeMgI

Drop spindling is a significantly slower spinning process than using a wheel but great for the beginning spinner to get comfortable with the wool process.