Saturday, December 29, 2012

New home for the holidays!

After spending the fall with my family down in MA working veggies and writing the farm business plan I am thankfully back in Maine. I'm writing at the library looking out onto a bay with a low afternoon sky, white lawns, frozen seaweed above the tide line, and of course seagulls. It feels good to be home. And welcomed with all the Maine frills- the first day back the Ellsworth American daily paper had three headlines involving a missing fisherman, a moose spotting, and gun sales. And the town center consists of this cabin posing as a three room library, a church, and a small school. My partner in crime and I are now farm sitting at Darthia Farm in Gouldsboro for  the weeks the farmers are gone. Once they return working in the woods with the horses will begin! Here is the farm with the newly built barn. It is a beautiful new space, a wonderful recovery from the tragic barn fire last spring.


See the sheep at the left! 
You can check out more about the farm here:
darthiafarm.com

Days are book ended with chores- feeding the sheep, cows, chickens, and work horses, as well as attempting to keep the wood stoves burning all day and keep Max (the pup) far away from the hens... we fail at the latter. The bulk of the day is spent spinning inside. Currently working on coffee dyed wool!


The living room is covered in sheep pelts


All in all it is not a bad place to spend the winter hours, days, weeks, months surrounded by such beautiful scenery and such beautiful animals. 


Friday, December 21, 2012

Selling out.

No, but really. I did. This week was a huge week at the spinnery- selling ALL spun skeins both to friends as well as to my first retail location (!!!) in my home town of Dedham, MA. I now really have to spin more. 
Here is a picture of the store where I am selling it. It is called Nest and is an awesome collective of 6 Dedham women bringing together local artists in the space for a gorgeous display of paintings, jewelry, linens, and a lot of other things. I am happy to be able to be a part of it. 


On display with artist Caroline (Alexander) Kaars Sypesteyn who does these black and white photo transfer prints. Their work can be seen here: http://www.berkshireartisanal.com/


That sheet underneath the wool is a dorky write up about my process as well as my history in farming and art.


Up close and personal on the turmeric and indigo dyed skeins!!


Exciting!!!!!
I feel so lucky to be able to sell in this space and to be honored as an artist- selling the skeins for a price that covers costs as well as helps me continue to do what I love.
I am now spinning coffee dyed and will be selling that next... and will be back in March to do a trunk show at the Dedham location! Real life. Selling out. It's cool beans.

Monday, December 17, 2012

DIY Drop spindle

Wanna learn how to spin? Get yourself some carded roving wool and then... the first tool in learning how to spin is to work on a drop spindle. This will get one familiar with the process of drafting the carded wool and working an even twist into the wool to form the yarn.


 Again with my stubbornness, when I first started spinning, I made my own. This is a design for a top whorl spindle. Here is what you need:
-a small ceiling hook (is that what they are called? Well- one of those hooks with a screw end)
-2 CD's you don't listen to anymore (I used Shania Twain and Now 1...) 
-a dowel closest to the size of the hole in the cd cut at roughly 13.576 inches (or somewhere around there)
-duct tape


Steps:
1. Torque the screw top of the hook so it curves out instead of being a flat hook
2. screw the ceiling hook into the top of the dowel


3. Place the CD's back to back and slide onto dowel, leaving about 4 inches on the shorter side
4. Secure CD's on dowel with duct tape (this could take some messing around)


5. Now nick into the CD's (you could do this before secured or now, at the end) with a knife or CD. It probs won't be pretty but this is for functionality, not beauty. Underneath the CD will be where the finished yarn goes, trailing up through the nick, around the hook, and into your drafting hands as you twirl the spindle on your thigh.


Now you are ready to use the drop spindle! It is difficult to explain in words but here is a good youtube video for it! 
http://www.youtube.com/watch?v=7gXTWgMeMgI

Drop spindling is a significantly slower spinning process than using a wheel but great for the beginning spinner to get comfortable with the wool process. 

Saturday, December 15, 2012

What my mother doesn't know is in the basement

Hi Mom. There is a deer skin curing in the wood room downstairs. It will be gone by Monday. Thanks for your understanding. Love, Bo.

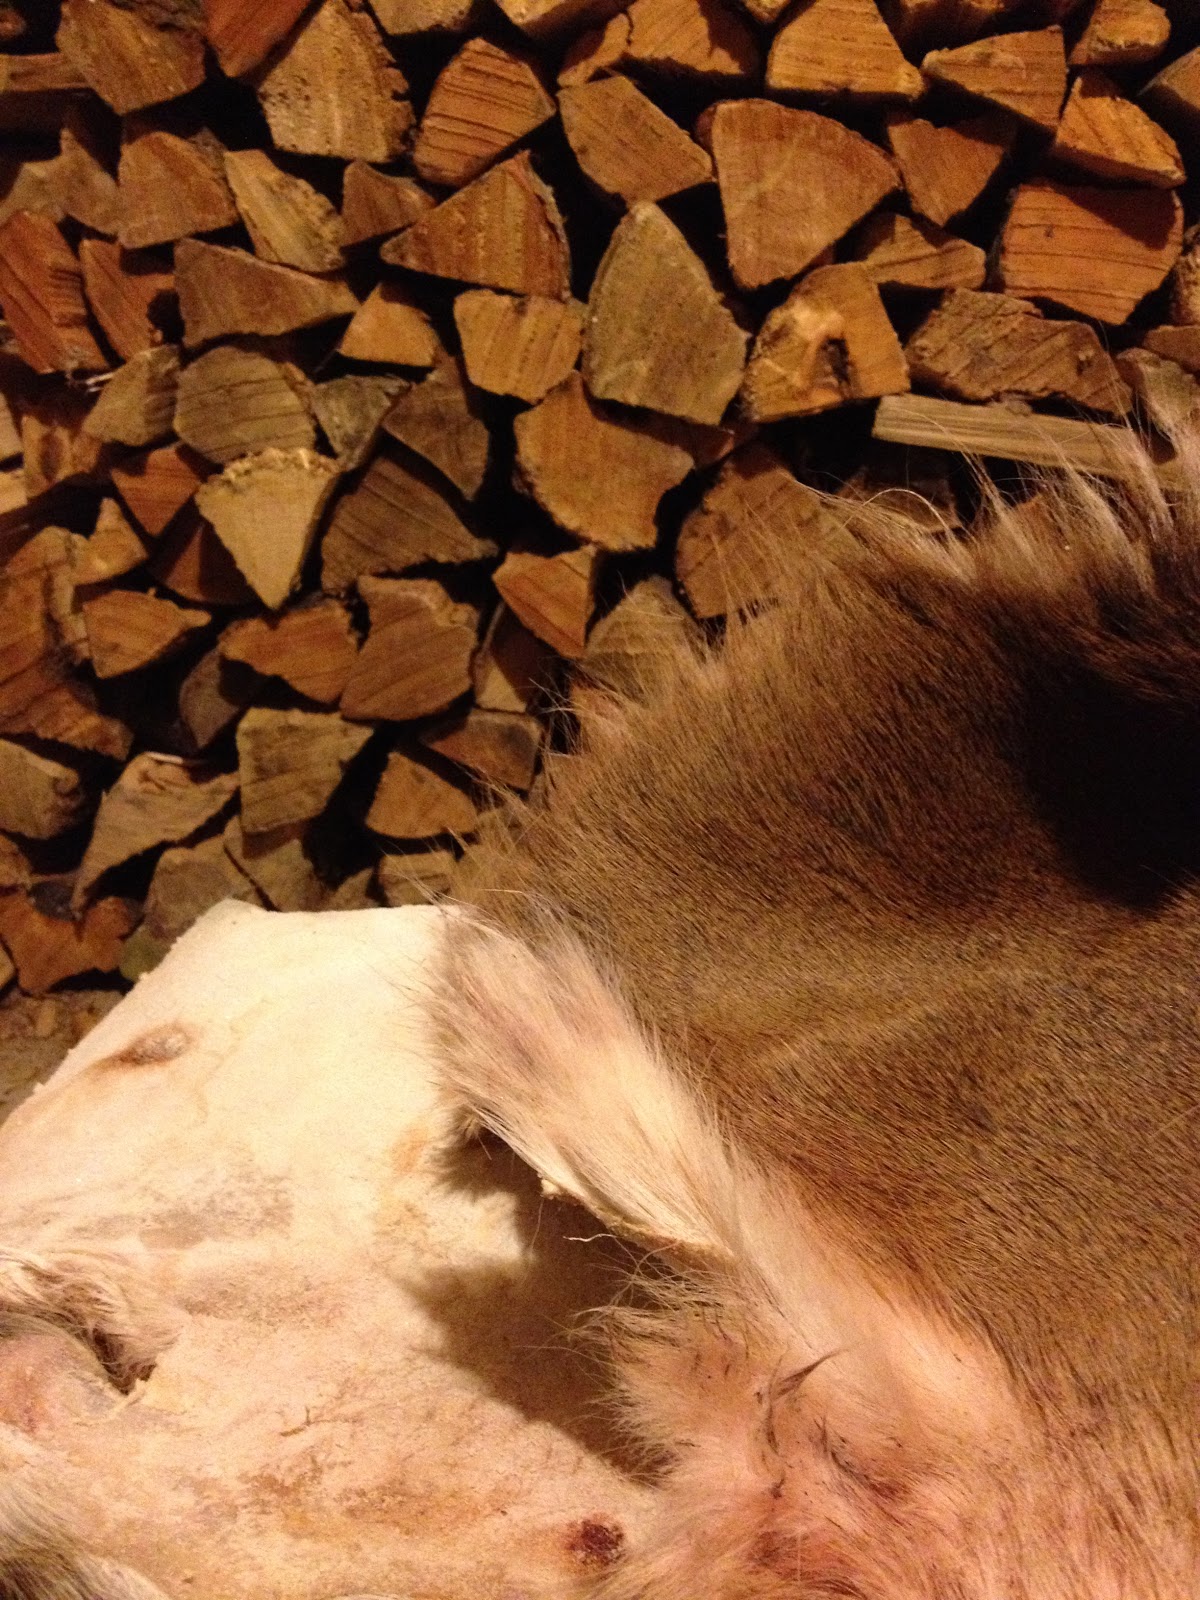
Thanks to a local hunter I received a deer skin on Tuesday. After we took the fence down at the farm the hunters descended on the gathering deer, driving up in their escalades (yes, an odd combination), with bow and arrow in hand. They had been watching them throughout the season to see where they gathered outside the electric fence and now legally have the chance to kill, so long as they use legal bows (no guns, no weak shots that would injure but not kill). Many hunters throw out their skinned pelts so I am now the proud owner of a pelt-in-process! I picked it up outside the farm cooler in a soggy box on Tuesday, brought it home and began working. The processing of cleaning it was very similar to that of cleaning a sheep's pelt, except the skin layers come off easy. The goal is to peal away excess meat and fat in order for it to dry faster and not rot. After doing this with both a swiss army knife and prying fingers, I rubbed in salt to the whole pelt. (Mom, again, I'm sorry. I finished the sea salt above the stove. Will get some more at the store tomorrow.) Here is the pelt salted and drying next to the wood:


On Monday I will send it to Bucks County tanning in Pennsylvania, a great company that does all sorts of pelts. Though its a bummer to send part of the production chain away from home, I am wary of working it for 3 days straight with some of the juices I taped from the brain (which I didn't have- Mom, you should be grateful) and even then coming out with a stiff final product. Maybe someday soon I will try it. When it comes back I will have my finished deer pelt! Which will most likely become a nice rug for the cabin in Gouldsboro this winter. 

I mention this all because no, a deer is not a sheep, but pelt processing is definitely an integral step in sheep rearing, especially if we are to honor the entire sheep. And enjoy their wool in every capacity. Though one could have a no-slaughter farm, I believe in meat consumption and will do so in the most ethical manner. Here is a sheep pelt that I snuggle with every night, from a lamb a few years ago on the island farm:


At some point, when I was a vegetarian for 7 or so years, I could never imagine my hands scrapping away at a dead animals skin, hair, flesh. But now I see it as such an important step in holistically respecting the animal that we raise. Also, in purchasing these pelts for your own living space, they support the farmer to do so more in the future. 


Wednesday, December 12, 2012

Business plan done! And first skein sold!

Exciting day of finishing my business plan (including crazy spreadsheets with lots of numbers that required doing math...) for my farm business class that I have been attending this fall. Also in the process of that presentation I sold my first ever skein of hand spun and dyed yarn! I will now be selling skeins as fast as I can spin and dye. Please let me know if you are interested by emailing me here: lostsheepspinnery@gmail.com !!!
Currently available are white (non dyed), turmeric dyed, beet dyed (a peachy shade). Brown/ black (non dyed) and indigo soon to come. Thanks for your support!


Saturday, December 8, 2012

Look a label!


Upon finishing some skeins this week (natural colored-seen right and turmeric dyed- seen left) I decided I needed to identify it some how- listing yardage and oz's and have some dorky picture of a sheep er somethin on it. Here comes the label! Here's me working on it on the light table:


I can't tell you how many times I tried to draw this dudes head. There are sheets of paper with random circles all over it. Who knew it was so hard.

And what the image is:


I swear those are sheep walking down the road to the right of the gender ambiguous farmer with the bo-peep staff. See??!! It totally has road lines and those sheep are totally furry.
And what it says:


Anywho now I can possibly maybe start selling it and it look more professional. Cut out of the picture is the link to this blog. So everyone who buys can find out more and experience the dork-ness. Yeah!

Tuesday, December 4, 2012

PVC Niddy Noddy


I like to build my own tools when I can. So when I came to the realization that trying to measure out and wind my skeins with a yard stick was just pathetic I decided I needed to investigate the most awesomely named spinning tool: the niddy noddy. Also known as the "nid" for short if you want to be so cool. I'm not. The niddy noddy measures out your yarn for you while you wrap (you just have to keep count, use a stitch counter if you are bad at this) and once you take the yarn off, you are ready to make a skein (it is in a big loop then, called a hank.) Yes, you can buy these from any spinning company like Louet or Ashford but they range from $20-70 (the higher end involving spiffy telescopic features). I suppose I am stubborn and stingy and think PVC is useful sometimes so I built this one. 

How to:

1. Go to a hardware store. Purchase (my total came to $4.83):
-about 4 feet of 1/2 inch PVC
-4 1/2 inch PVC end caps
-2 1/2 inch PVC T's


2. Cut piping 
-4 5inch sections (these will be the end bars
-1 7inch or 16inch section for the middle bar


I cut mine at the store, borrowing a workers PVC cutter as we lamented the arrival of non stop christmas music over the store speakers. Because I wanted a 2 yard length skein (so I would only have to wrap it 50 times to get a 100 yard skein... yea math!)I cut the middle bar to be at 16 inches. If you want a 1 yard length (making a smaller, fatter hank when finished), cut the middle bar to be at 7 inches.

3. Piece it all together!


Put the short sections into the T, making a straight bar. Place the longer section in perpendicular to these bars. Repeat on other end! Twist the handles so they are at a 90 degree angle. Put end caps on all exposed cuts. Viola! Ready to wrap! All under $5.
Here is a good tutorial on how to use it:
http://www.youtube.com/watch?v=t6JN6dUvRaU

Here is a 100 yards on mine, right off of my plying bobbin:


The end.

Monday, December 3, 2012

Uses for old/ oddly shaped sweaters


Last winter I took on the feat of my first sweater. I didn't really use a pattern and I used all of the yarn I made when I was first starting to spin (quite lumpy and unevenly plied). All in all I am pleasantly surprised it came out with a head hole and arms. However it came out big enough to fit a tom turkey and I am mostly bone-skin-muslce so I decided to felt it (just by running it through a hot wash a couple times with ample amounts of soap). The felting brought out the awkward different weights of the yarn making it more like a dress-sweater thing... But I have found uses for it! Instead of framing it and hanging it on the wall as one of those really ugly yet conversation pieces of ugliness I have decided to transform it into new uses. Upcycle! And here I introduce the sweater:


I was nervous on the first incision but soon the novelty of its memory creation wore off and I dove in:


And this is my adorably perfect 5 month old puppy, Max, a lab- chow mix and also my first victim for the sweater up-cycling:


He was quite patient as I fitted it to his tiny (but growing!) body. This involved cutting off the sweater arms and part of the lower parts, as well as cutting down the front- as if to make a vest. 


With a little bit of trimming I then added 3 large buttons and button holes- 2 along his belly (what would be the front of a human vest) and 1 in front of his front legs, on the neck line. Presto pesto! I have a dog ready for Maine lumberjacking winter season. He could probably care less.


In the mean time I had the sleeves left over so I turned them into wrist warmers for me:

So if you have any old sweaters that have felted or you just don't wear any more or you have those awkwardly shaped failed knitting products consider upcycling by temporarily torturing your small loved ones in the dressing room. They will thank you when they are not shivering this New England winter.


Saturday, December 1, 2012

Dream

So last night as I was falling asleep I couldn't let go of the image and action of drafting wool and spinning it. It is the most peaceful process and calms me down from any mood. It reminded me of this dream I had a week or so ago that I was drafting the fibers from milk weed pods and spinning them above my head. A cloud of wool was forming above me and trying to pull me from the ground. In the cloud, I was explaining to someone near by, the proportions of the Sierpinski triangles were there er something... The whole scene reminded me of this photograph by my favorite photographers- Robert and Shana ParkeHarrison. You can check out their work here: http://www.parkeharrison.com/
This was the photo I was thinking of: